Loading Logger…

🐸 Logger

Homeschool Hours Log

Log Entry
School Year
Date
Child
Subject / Activity
Hours
Score (opt)
Notes (optional)
Quick-Pick Classes
No classes defined yet.
Recent History
Child
Progress
School Year
Logger frog

Logger

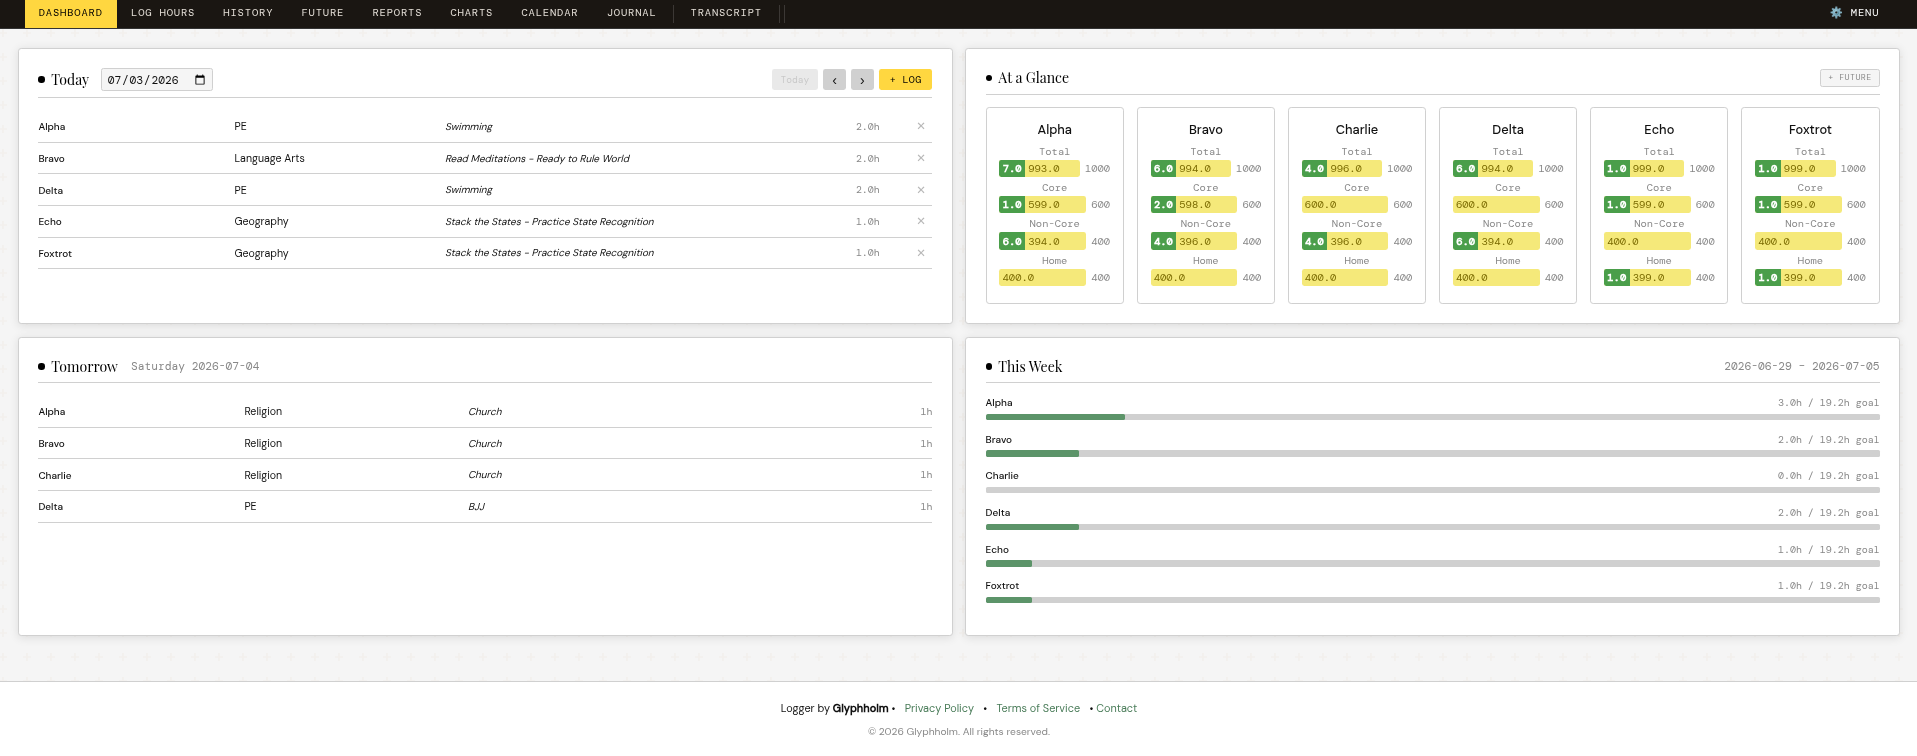
Homeschool Hours & Activity Log

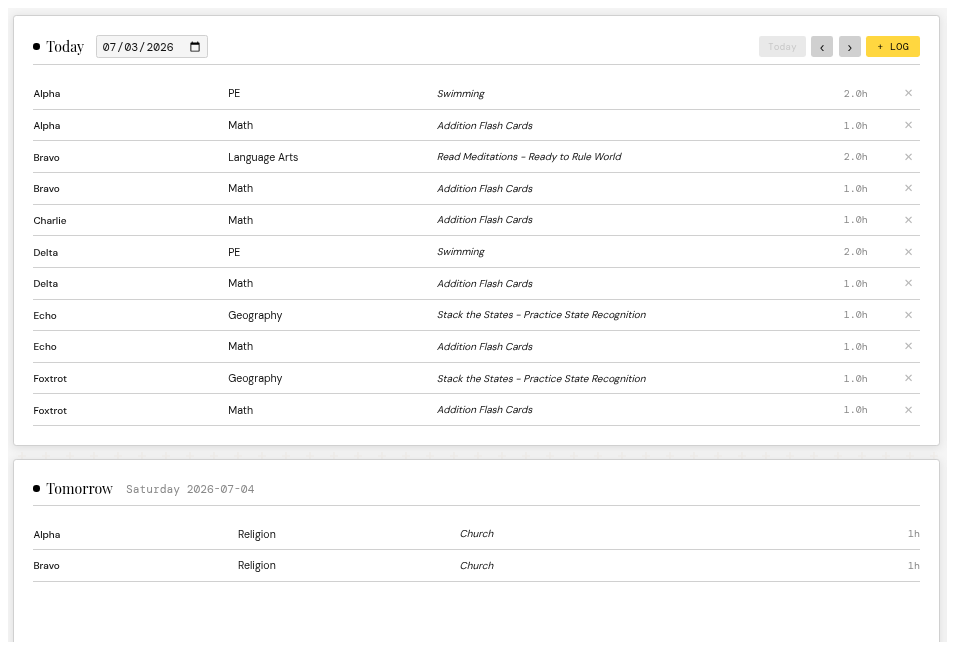
Log New Entry
Classes
No classes defined.
Add them in the Classes tab.
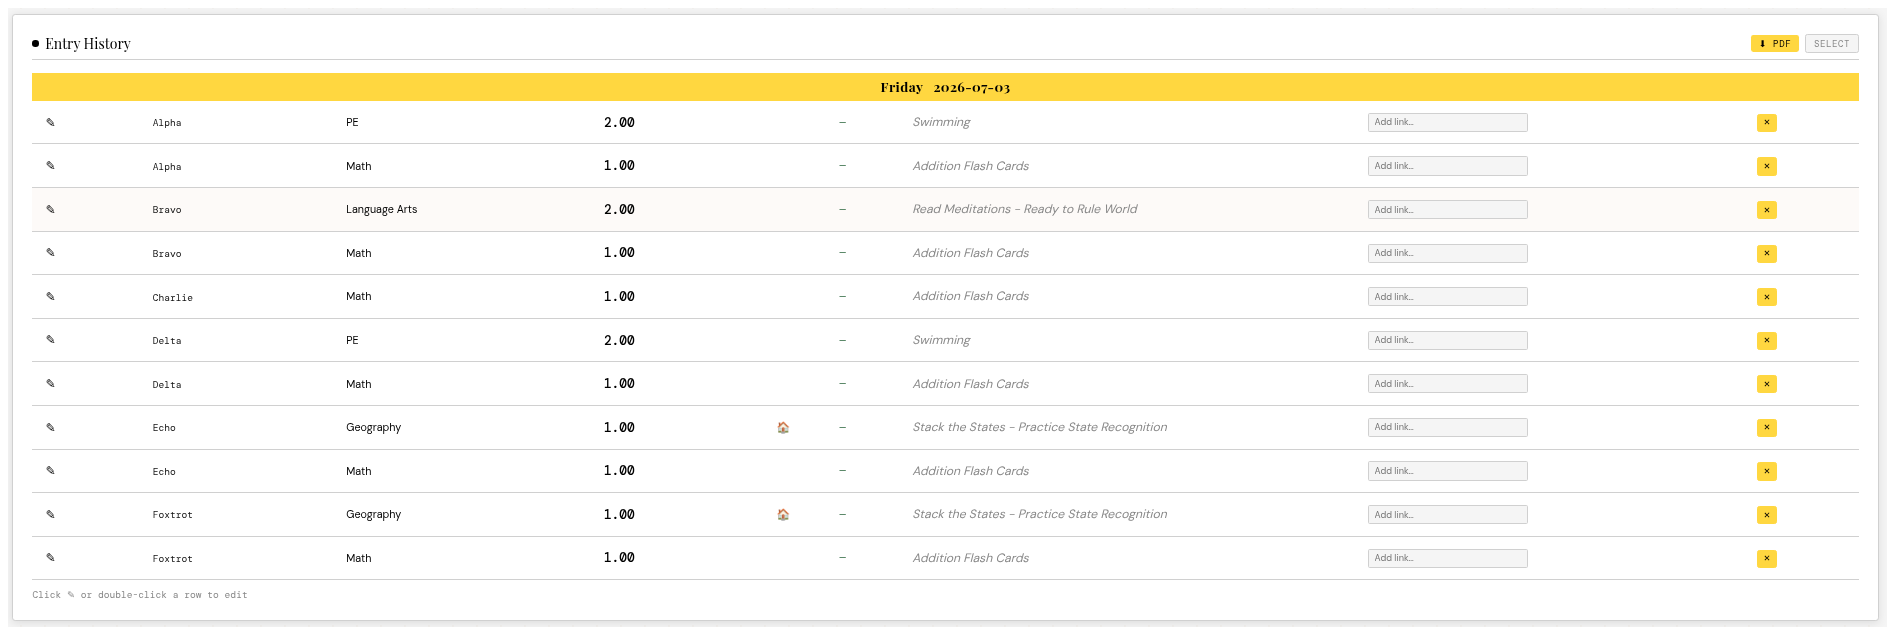
Entry History
Future Recurring Entries
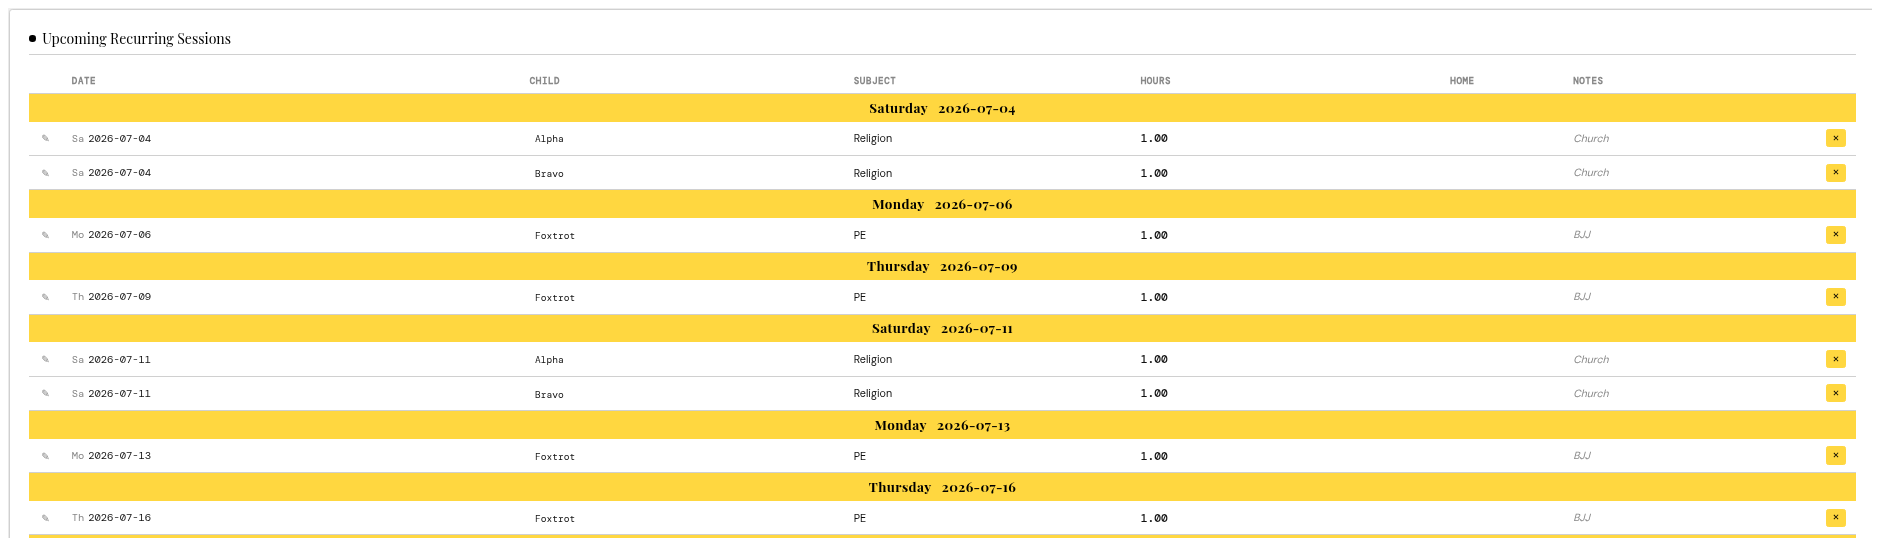
Upcoming Recurring Sessions
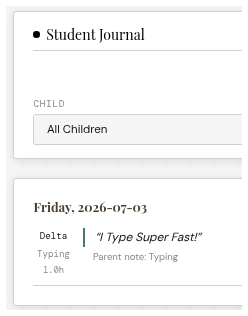
Student Journal
PDF and CSV Reporting
Attendance
Subject Hours
Future Hours Forecast
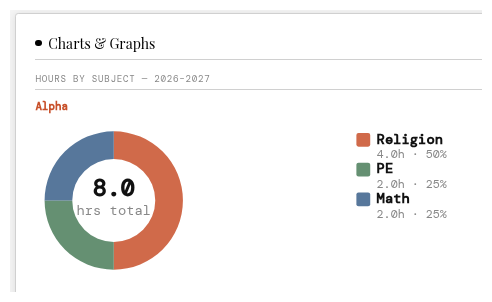
Charts & Graphs
Add Class
Classes
Add Recurring Activity
Scheduled Recurring Activities Double-click to edit ⏸/▶ Pause/resume 📅 Skip dates ✂️ Remove future only 🗑️ Remove all
Add School Year
Children
Core vs Elective Subjects
Subjects / Activities
Delete Account

⚠️ Warning: Deleting your account is permanent and cannot be undone.

When you delete your account:

  • All your logged data and entries will be permanently deleted
  • Shared transcript links will no longer be viewable
  • You will receive a confirmation email
  • This action cannot be reversed
Student
School Information applies to all students
Standardized Test Scores
Extracurricular Activities & Community Service
Attendance Summary
Honors & Awards
Course Load Summary
Transcript Section Visibility
School Years Classes
Transcript Preview & Export
Student ID Cards

Create and print laminated student ID cards (3.375" × 2.125" standard size).

Optional · JPEG/PNG · Max 2MB
ID Card Preview
Report Card

View and print class grades by school year.

Classes
Report Card Preview
Import CSV Data

Import activity data from any CSV file. After selecting a file, map each column to the correct Logger field — or ignore columns you don't need.

Auto-created from CSV data if not found
Import History
App Settings

Controls when new school years are created automatically. Default: June. Applies to new school years only — existing school year dates are not changed.


Progress Goal Display

Weekly and monthly goals are automatically derived from the school year's total hours goal.


Stat Visibility

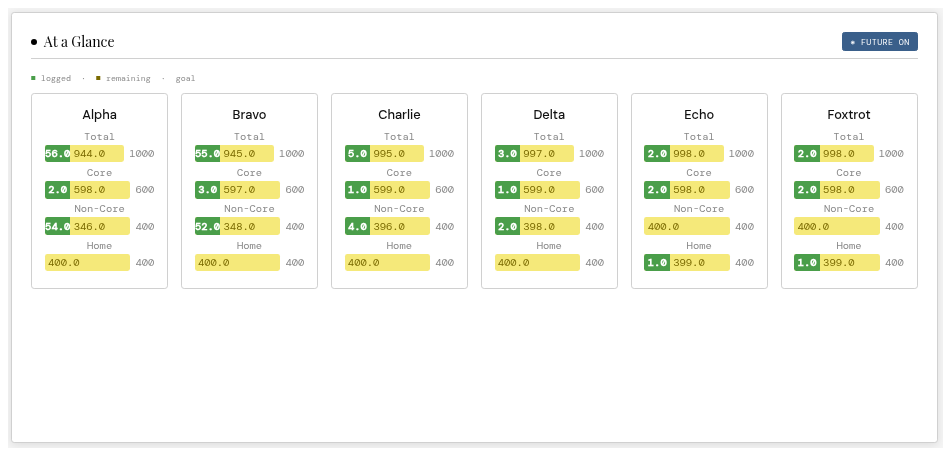
Hide stats your family doesn't track. Affects At a Glance and all Reports progress bars.

Your Data

Your data is stored securely on our servers and backed up automatically — you never need to manage it manually. You can download a full copy at any time or export by school year. Your data belongs to you.

Download Your Data
Export by School Year
Subscription & Billing

Frequently Asked Questions

How to get the most out of Logger.

Installing Logger as an App

Logger can be installed directly on your device — it works offline, opens from your home screen or desktop, and behaves like a native app. No app store required.

Chrome / Edge (Desktop or Android)
Look for the install icon (⊕) in the address bar, or open the three-dot menu and choose Install Logger or Add to Home Screen.

iOS Safari
Tap the Share button (the box with an arrow), then tap Add to Home Screen. Logger will appear on your home screen like any other app.

Other browsers
Firefox and some others do not support app installation. Use Chrome or Edge for the best experience.

Once installed, Logger loads instantly and works without an internet connection. Your data is always stored locally — installing the app does not change where your data is saved.

Tracking a High School Class

Here's the full workflow from setup to transcript for a class that will appear on a high school transcript.

Step 1 Set up a School Year — Settings tab

Go to Settings → School Years and add a school year (e.g. "2024–2025") with start and end dates. While you're there, set hour goals for the child if you want progress tracking. This is the foundation everything else ties to. If you need to adjust dates or goals later, each school year card has an ✎ Edit button.

Step 2 Mark the relevant subjects as Core — Settings tab

Still in Settings, go to Core vs Elective Subjects and toggle the subject the class falls under (e.g. "English") to Core. Core hours are tracked separately and feed into the transcript's credit calculations.

Step 3 Create the Class — Classes tab

Go to the Classes tab and add a new class:

  • School YearSelect your 2024–2025 year, or choose — All Years — if this class recurs every year (e.g. PE, Art)
  • SubjectPick the subject (e.g. English)
  • Class NameThe name that will appear on the transcript, e.g. "British Literature"
  • HoursTypical session length (e.g. 1 hour per sitting)
  • LevelRegular, Honors, AP, or Pass/Fail — affects GPA weighting on the transcript
  • Curriculume.g. "Memoria Press" or whatever resource they're using
  • LinkOptional — e.g. a course syllabus or online course URL
  • DescriptionA brief course description — this shows up on the transcript
  • Final GradeOptional — enter a letter grade (A, B+, C) or score (93) to override the grade calculated from individual entry scores. Enter P or F for Pass/Fail classes. Use this for external programs like Google Classroom where the final grade is already determined.
  • Materials FolderOptional — a local folder path or URL where downloaded course materials are stored. For your reference only — never shown on the transcript.
  • On TranscriptCheck this to include the class on the transcript. Only entries linked to a transcript-eligible class count toward GPA and credits.
Step 4 Set up a Recurring session if it meets on a schedule — Recurring tab

If the class meets every Tuesday, go to the Recurring tab and add a recurring activity for that child, subject, and day. Sessions are logged automatically — no action needed. Each past session date is entered into history as soon as it comes due, so your log stays current without any manual step.

Step 5 Add grades or notes to auto-logged entries — History tab

Recurring sessions are logged without a score. To add a grade after an assessment, go to the History tab, find the entry, and double-click the row to edit it — update the Score and Notes fields, then save.

If a class is not set up as recurring (e.g. it doesn't meet on a fixed schedule), log it manually from the Log Hours tab: click the class chip in the Classes box to auto-fill the subject, hours, and curriculum, then pick the child, set the date, add a score if applicable, and click Log Entry.

Step 6 View the Transcript — Transcript tab

The Transcript tab automatically aggregates everything. For each school year it shows:

  • Attendance days (unique days with logged entries)
  • Total hours and credits (every 120 hours = 1 credit, rounded to the nearest 0.5)
  • Per-subject credit count, average score, letter grade, and GPA
  • Cumulative GPA across all years

You can also add standardized test scores (SAT, ACT, etc.) and extracurriculars directly on the Transcript tab. When ready, hit the print/PDF button for a clean, formatted transcript with a signature line.

Key thing to know

Credits come from hours — 120 hours logged to a subject in a school year = 1 credit, rounded to the nearest 0.5. So if a class is worth 1 credit, you're aiming to log roughly 120 hours against it over the year. The transcript reflects whatever has actually been logged, so consistent entry over the year matters more than any single setup step.

External programs & final grade override

For classes taught through an external program — Google Classroom, an online co-op, a dual enrollment college course — the final grade is determined by that program, not by individual activity scores. In these cases, enter the grade directly on the class using the Final Grade field in the Classes tab.

You can enter a letter grade (A, A-, B+, B, etc.), a numeric score (93, 87, etc.), or P / F for Pass/Fail classes. When a Final Grade is set on a class, it overrides whatever was calculated from individual activity scores — the transcript uses only the entered grade for that class's letter and GPA. Hours and credits are still calculated from what was actually logged.

You can also store downloaded course materials using the Materials Folder field — enter a local folder path or URL. This is for your internal reference only and never appears on the transcript.

Documentation Needed to Validate High School Credit

Colleges and accrediting bodies may ask for evidence that a class qualifies for high school credit. Here's a checklist of documentation that demonstrates a rigorous, well-documented course. You don't need every item, but having a file for each class makes the transcript stand up to scrutiny.

Documentation Checklist
  • Course Syllabus — clearly outlines objectives, topics covered, required texts, grading criteria, and time commitment per week
  • Course Materials — textbooks, workbooks, online curriculum (save links or PDFs), videos, or lab materials used
  • Attendance Log — Logger tracks this automatically. Print the attendance PDF from the Reports tab as proof of consistent participation
  • Graded Assignments — copies of major essays, quizzes, tests, projects, or problem sets with scores/feedback
  • Final Grade Evidence — grade report from the course provider (if external), or summary of how the grade was calculated
  • Hour Breakdown — Logger's transcript automatically shows total hours logged. Include any hours from activities Logger doesn't track (field trips, guest speakers, lab practicum)
  • Instructor Credentials — for classes taught by a tutor or online instructor, brief bio of their qualifications (degrees, teaching experience, certification)
  • Sample Coursework — 2–3 best papers, projects, or exams that demonstrate college-preparatory level work
How to Store & Organize Documentation

Best practice: Create one folder per class per year (e.g. 2024-2025/English-101/) and store all supporting documents in that folder.

In Logger, use the Materials Folder field on the class to link to this folder. You can enter a local file path (e.g. /Documents/Homeschool/2024-2025/English-101) or a cloud link (e.g. Google Drive, Dropbox). This link is for your reference only and will not appear on the transcript.

When a college or accrediting body asks for documentation, you'll have everything in one place and ready to share.

Pro tip: Keep a shared cloud folder for all years and classes. You only need to maintain it if you later need to submit documentation — otherwise it's just insurance.